Welcome to yuhao's Blog!
在探索的路上留下最美好的記憶-
Linux 架設 http server
本筆記使用的 Apache 當作 http server.
環境參數
註: 這些資訊請依照自己實際情況做修改
- 網站路徑: /srv/mypage
- DNS: www.example.com
- 設定檔檔名: 00-mypage.conf
RedHat / CentOS
[1] 安裝 http 套件
root@server:/# yum install httpd[2] 修改設定檔
- 如果想直接使用預設目錄就直接跳到啟動服務那邊
- 設定檔資料夾路徑 /etc/httpd/conf.d/
root@server:/# vi /etc/httpd/conf.d/00-mypage.conf
root@server:/# cat /etc/httpd/conf.d/00-mypage.conf
<VirtualHost *:80>
    ServerName www.example.com  # 如果您沒有自己的dns就不需要打
    DocumentRoot /srv/mypage    # 請更換成自己的網站在系統中的實際路徑
</VirtualHost>
<Directory /srv/mypage>
    Require all greanted
</Directory>
[3] 建立網站內容
root@server:/# cp /root/mypage /srv/mypage # 把剛剛設計好的網站複製到跟設定檔相同的位置[4] 處理SELinux規則
- 首先必須檢查 SELinux 現在的執行模式
root@server:/# getenforce # 取得SELinux模式 enforcing # <<< 當處於這個模式時, SELinux會屏蔽掉違反規則的動作, 請執行第2步驟 - 新增 SELinxu fcontext 規則
root@server:/# semange fcontext -a -t httpd_sys_content_t "/srv/mypage(/.*)?" - 更新 SELinux 規則
root@server:/# restorcen -RFvv /srv    # 整個目錄/srv都重新載入規則
root@server:/# ls -lZ /srv             # 查詢檔案的SELinux規則
drwxr-xr-x. root root system_u:object_r:httpd_sys_content_t:s0 mypage
#                                       ^^^ 這裡必須跟剛剛設定的規則相同
[5] 啟動HTTP服務
root@server:/# systemctl restart httpd # 重啟 http 服務 root@server:/# systemctl status httpd # 察看 http 服務- 註: 因為start這個指令在服務某些狀態下會有啟動失敗的問題, 因此個人習慣使用restart
[6] 開放防火牆 允許HTTP服務通過
root@server:/# firewall-cmd --permanent --add-service=http    # 允許通過http
root@server:/# firewall-cmd --reload                          # 重新防火牆規則
[7] 看一下自己網站!!
把瀏覽器開啟來 然後就去看看吧XD
Debian / Ubuntu
[1] 安裝 http 套件
root@server:/# apt-get install apache2[2] 修改設定檔
- 如果想直接使用預設目錄就直接跳到啟動服務那邊
- 設定檔資料夾路徑 /etc/apache/conf.d
root@server:/# vi /etc/apache/conf.d/00-mypage.conf
root@server:/# cat /etc/apache/conf.d/00-mypage.conf
<VirtualHost *:80>
    ServerName www.example.com  # 如果您沒有自己的dns就不需要打
    DocumentRoot /srv/mypage    # 請更換成自己的網站在系統中的實際路徑
</VirtualHost>
<Directory /srv/mypage>
    Require all greanted
</Directory>
[3] 建立網站內容
root@server:/# cp /root/mypage /srv/mypage # 把剛剛設計好的網站複製到跟設定檔相同的位置[4] 處理SELinux規則
註: 做這篇Debian/Ubuntu預設是沒有SELinux的, 所以這裡就直接跳過了!!
[5] 啟動HTTP服務
root@server:/# systemctl restart apache2 # 重啟 http 服務 root@server:/# systemctl status apache2 # 察看 http 服務- 註: 因為start這個指令在服務某些狀態下會有啟動失敗的問題, 因此個人習慣使用restart
[6] 開放防火牆 允許HTTP服務通過
[7] 看一下自己網站!!
把瀏覽器開啟來 然後就去看看吧XD
-
安裝MariaDB
MariaDB是一個MySQL的分支, 目前是由開源社群維護, MariaDB無法在系統中同時存在, 因此如果使用了MariaDB就無法使用MySQL了
請注意!! 此筆記是將mariadb安裝在raspberry pi上, 但在Debian/ubuntu上也可以使用, 另外這個筆記不會記錄MariaDB操作指令
安裝 MariaDB
root@rpi:/ # apt-get install mariadb-server服務啟動/觀察狀態/開機啟動
# 服務啟動
root@rpi:/ # systemctl restart mysql

# 觀察mariadb狀態
root@rpi:/ # systemctl status mysql

# 開機啟動
root@rpi:/ # systemctl enable mysql
登入MariaDB
root@rpi:/ # mysql -u root -p
Enter Password : <輸入密碼>
登出MariaDB
# 在mariadb shell 登出
MariaDB [(none)]> exit
Bye				# <<< 自動產生
root@rpi:/ #	# <<< 回到bash shell了
資料來源
-
STM32 HAL Library 初學筆記
STM32 HAL Library 初學筆記
以往寫STM32F1時用標準函式庫寫著寫著也沒感覺到甚麼不對勁的地方 直到最近一個小小專案要用到STM32F4突然發現移植過去程式以前Call標準庫的東西不能用了 後來才想到以前寫的程式不懂可移植性的重要, 一直Call底層的東西造成程式的移植困難, 經過Google大神的指引, 發現HAL函式庫可以解決移植性的問題, 因此決定好好學學他
開發環境
我使用
GNU ToolChain搭配Eclipse來工作Init 初始化
HAL庫的好處就是初始化部份也幫我考慮進去了, 在stm32f4xx_hal_msp.c中的HAL_MspInit()加入硬體初始化的程式
stm32f4xx_hal_msp.c

void HAL_MspInit(void)
{
	// your code.
	// example: HAL_GPIO_MspInit();
}
作業系統
-
STM32F4 USB DFU燒錄 on Windows
最近實驗室要做教學用的小車子, 所以板子體積要小, 所以就選擇微雪電子的Core405R 這個板子有ST-Link接頭和一個USB接頭, 經費問題弄不到ST-Link剩下USB可以拿來燒錄了 只好跳下去研究USB的Bootloader的燒錄功能了
Bootloader
Bootloader是一種開機啟動程式, 控制器開機時就會先執行bootloader, 再由bootloader去啟動指定起始位址的應用程式
ST在STM32F405有規劃一塊bootloader程式的區塊, 因此我們可以省略掉燒bootloader程式這個步驟, 直接把程式燒錄進控制器了
驅動/燒錄程式
下載ST的bootloader專用燒錄程式
燒錄步驟
- 寫隻程式
- 我的IO測試程式Github
- compiler
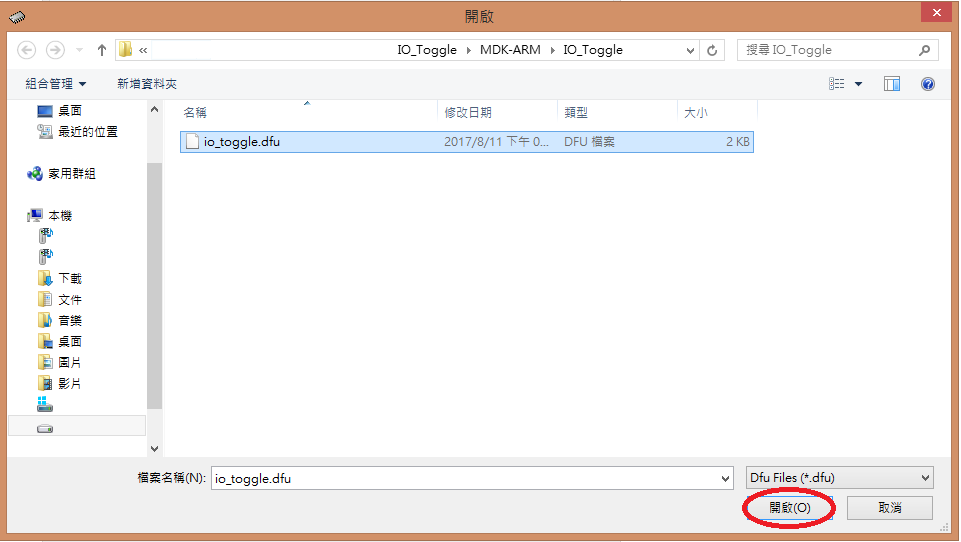
- 將 Hex檔案 轉成 dfu檔案
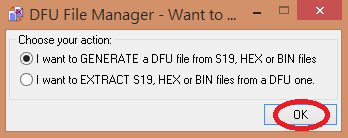
- 開啟轉檔工具 DFU File Manager
- 選擇 轉換DFU檔案
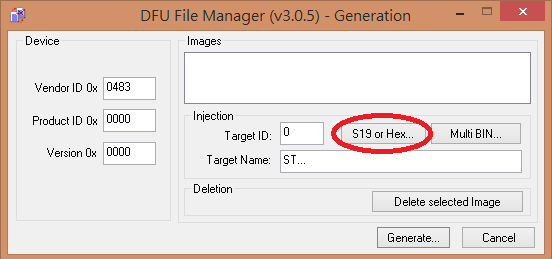
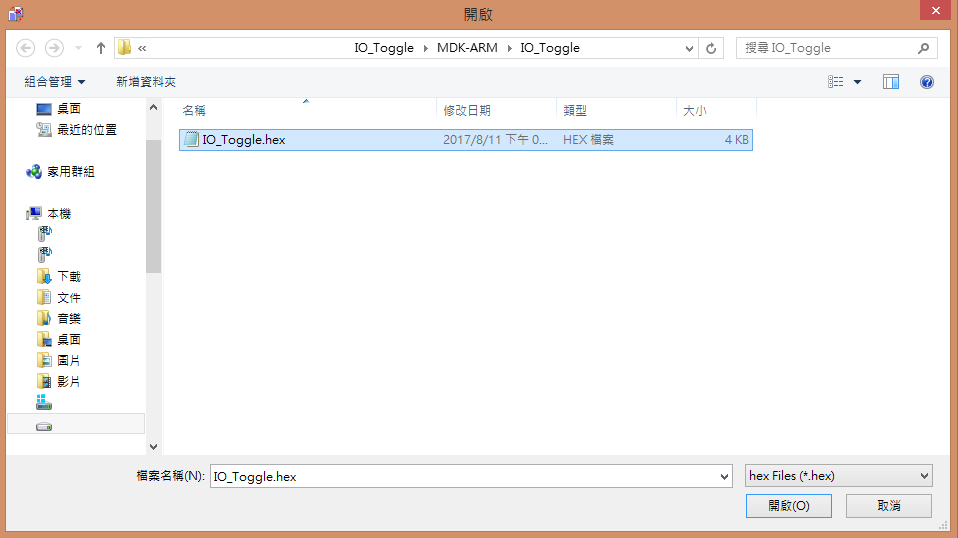
- 選擇要轉換的Hex檔案
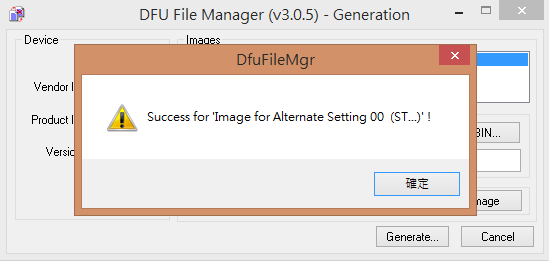
- 轉換!!
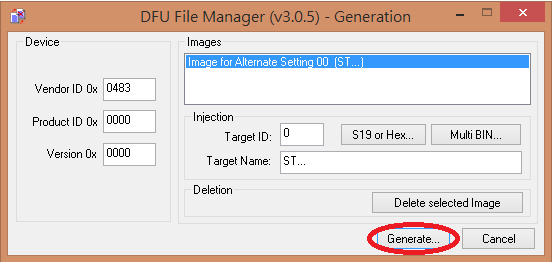
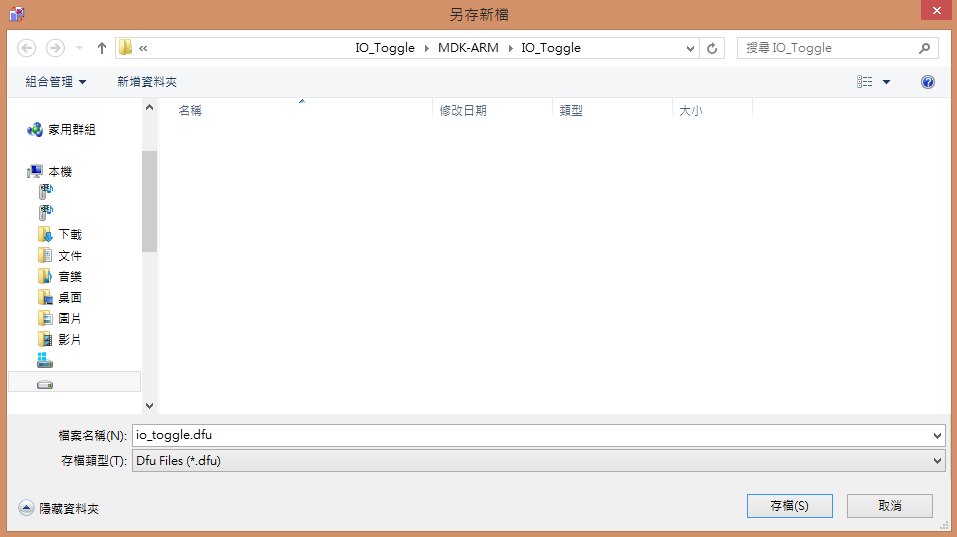
- 完成
- 開始燒錄!!
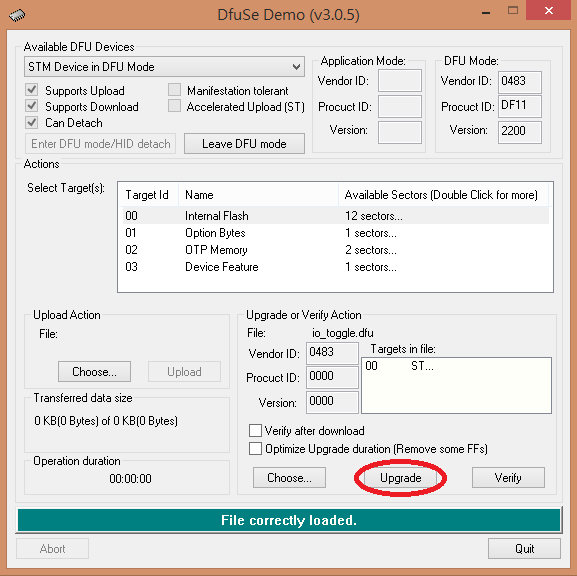
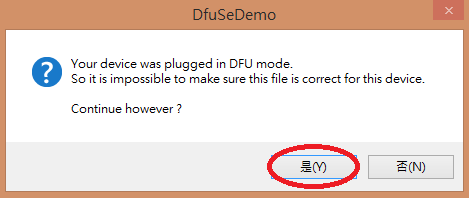
- 開啟燒錄工具 DfuSe Demo
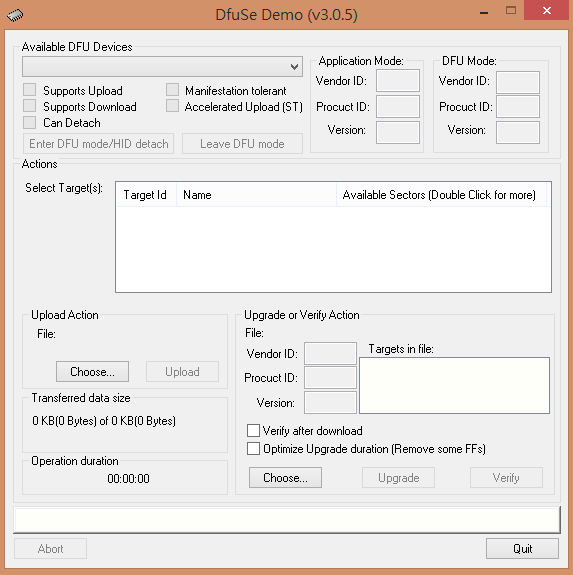
- 將開發板設為燒錄模式
- 燒錄

- 燒錄完成!!
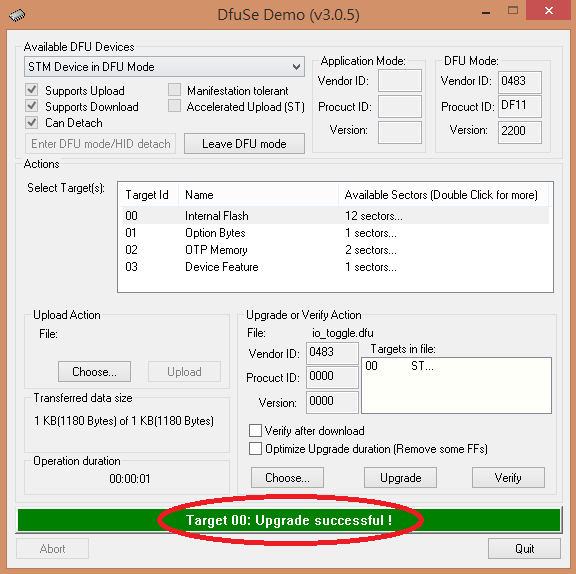
- 開啟燒錄工具 DfuSe Demo
- 寫隻程式
-
C語言 取得系統時間
C語言 取得系統時間
C語言 取得時間的函數庫是 time.h 本文只會用到兩個資料型態
從1900年到現在的秒數
typedef long time_t;時間結構
struct tm
{
	int	tm_sec;		/* 秒: 0-59 */
	int	tm_min;		/* 分: 0-59 */
	int	tm_hour;	/* 時: 0-23 */
	int	tm_mday;	/* 日: 1-31 */
	int	tm_mon;		/* 月: 0-11 */
	int	tm_year;	/* 年: 1900到現在幾年 */
	int	tm_wday;	/* 星期 (0-6) */
	int	tm_yday;	/* 從1/1開始過幾天: 0-365 */
	int	tm_isdst;	/* +1 日光節約時間, 0 沒有節約時間, * -1 不知道 */
};
這個結構有幾個地方要需要注意
- mon 月份: 一月是 0 , 所以使用時必須要 + 1
- year 年: 這個年是從1900年開始算起, 使用時要 + 1900
- wday 星期: 從周日開始, 週日顯示 0
- tm_hour 時: 由於台灣的時區是 UTC+8 , 所以要加上8小時
測試程式
#include <stdio.h>
#include <stdlib.h>
#include <unistd.h>
#include <time.h>

int main(int argc, char **args)
{
	time_t tim;
	struct tm *p;
	time(&tim);
	p = gmtime(&tim);
	printf("%d年 %d月 %d日\n%d點 %d分 %d秒\n星期%d 今年第%d天\n",
			p->tm_year + 1900, p->tm_mon + 1, p->tm_mday,
			p->tm_hour+8, p->tm_min, p->tm_sec,
			p->tm_wday, p->tm_yday);
	return EXIT_SUCCESS;
}
結果
2017年 8月 11日
17點 18分 31秒
星期5 今年第222天
-
連接MySQL資料庫
簡易測試指令筆記
連線
本機端
user $ mysql -u root -p
password: ******
遠端
user$ mysql -h <ip/dns> -u root -p
password: ******
查詢資料庫列表
show databases;查詢資料表
在沒有切換到任何資料庫時無法查詢資料表喔!! show tables;
切換資料庫
use <db_name>; /* db_name 改成請自行資料庫名稱 */簡易增刪修查指令
查詢
查詢資料庫中指定表單的所有資料,
db_name表示資料庫名稱,table_name表示資料表單名稱mysql> select * from <db_name>.<table_name>;新增
新增檔案到資料表中,
db_name表示資料庫名稱,table_name表示資料表單名稱mysql> insert into <db_name>.<table_name>(欄位名稱1, 欄位名稱2, ...) values(欄位1資料, 欄位2資料, ...);修改
修改指定資料的內容
mysql> update <table_name> set <欄位名稱>=<更新的資料> where <欄位名稱>=<要修改的資料>;刪除
刪除指定資料的內容
mysql> delete from <db_name>.<table_name> where <欄位名稱>=<要被刪除的資料>;